Formatting your images can make all of the difference when it comes to framing up and assisting your content in WordPress posts and Pages. Lucky for you, WordPress has given you everything you need to manage your images and to make your content look awesome! In this blog post, we’ll go over how to format your images by using alignment controls within the Insert Image area. We’ll also discuss the use of Photo Galleries!
Format Your Images with Alignments
Left Alignment
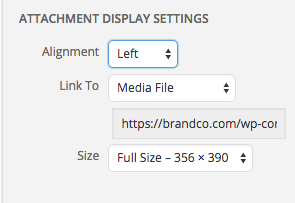 Using alignment to the left allows you to have your content wrapped around your images. When your image sits to the left, your content will wrap along the right side of it. When you are adding in an image that you want to have left or right aligned, you will need to have your cursor at the area where you want the image to break and to be aligned by. Such as, with this image to the left, I inserted the image before beginning this paragraph (before the “Using”).
Right Alignment
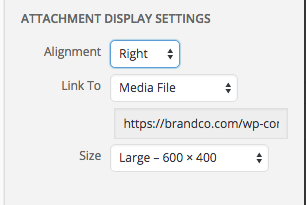 In opposition to Left alignment, the Right alignment option gives you the exactly opposite effect when inserted. All of your content that is entered “after” the image will wrap to the left side of the image. This is a nice way to frame up things that you are talking about in your posts or pages. I prefer to alternate between left and right alignment when adding images to pair with what I discuss in my posts.
Center Alignment

Unlike Right and Left alignments, Center aligning your images will cause a break in your content. I use center alignment regularly when using larger images so that content doesn’t get squeezed to one side of the other of the image. As you can see, demonstrated here, that this option puts the image in the middle of the content and separates content to above and below it.
Alignment None
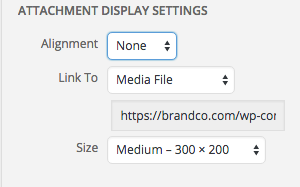 This option can sometimes be a wild card depending on the code of your WordPress theme. As you can see, on our website, the None alignment lays the image in line with the content. It works much like Left Alignment for us, but it doesn’t allow for the content to wrap to the right hand side of the image.
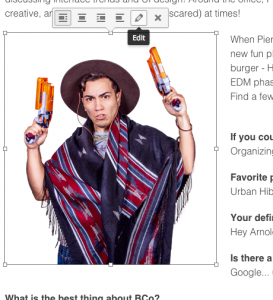 Take time to play around with your image options in your WordPress install. You can easily add images to your Pages and Posts by selecting Add Media. You can also edit any images that you have already inserted by clicking them within your Editor and selecting the little pen tool that shows up.
Managing how your photos are aligned with your content and make all the difference to your readers.